How to Paint Cornhole Boards (Step-by-Step DIY Guide)
Cornhole is one of the most popular backyard games in America. You can bring it out at a tailgate, a BBQ, or a casual family get together, and it instantly makes things more fun. Tossing bags is always entertaining, but when you play on a beautifully painted cornhole board, the experience feels even better.
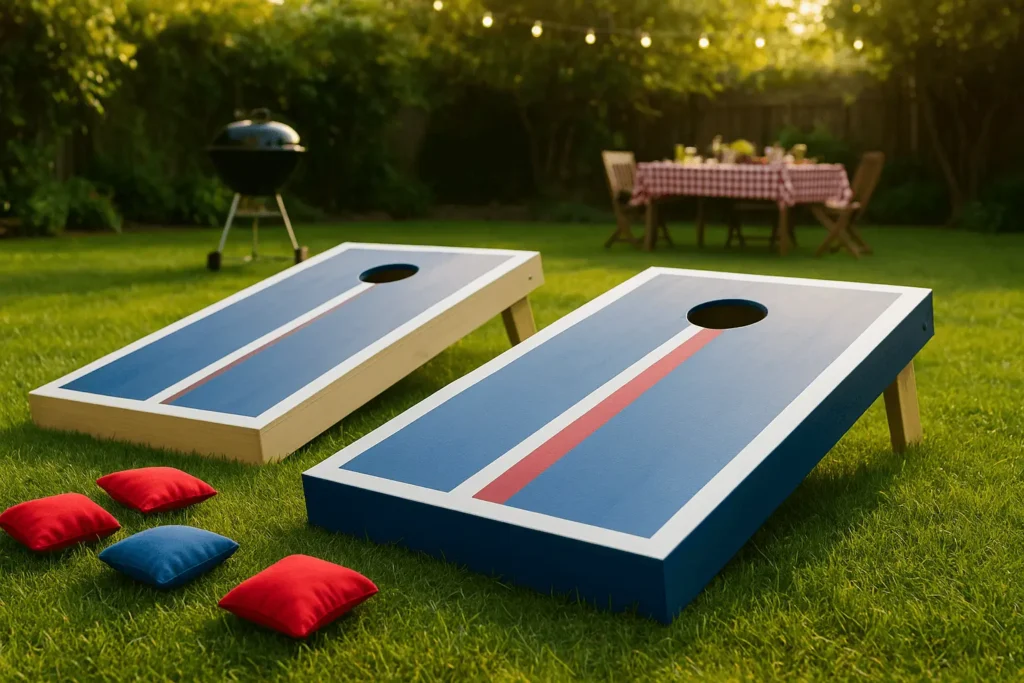
Playing on plain wooden boards is fun, but once you add a custom paint job, the game reaches a whole new level. Painted boards look amazing, protect the wood, give you a smoother surface for better gameplay, and help your set last longer.
In this guide, I will show you everything you need to know about painting cornhole boards. You will learn how to prepare the wood, apply your design, seal the surface, and even care for your boards so they stay in great shape for years.
By the end, you will be confident about creating a professional looking set at home, even if this is your very first DIY project.
Why Paint Your Cornhole Boards?
You might be asking yourself, “Do I really need to paint my cornhole boards?” The simple answer is yes if you want them to last.
Painting gives you a lot of benefits:
- Personalization: Instead of leaving the wood plain, you can show off your favorite team colors, add a family crest, or even use glow in the dark stripes for night-time games.
- Durability: Bare wood cannot handle rain, sun, or the wear and tear of repeated throws. A coat of paint with a good sealer will protect your boards for years.
- Better gameplay: A painted and sealed surface helps the bags slide smoothly and consistently, without snagging on rough spots.
- Resale value: Custom painted boards often sell for more than plain ones, so you can even make money back if you ever decide to upgrade.
Quick tip: If you do not already have a set of boards, take a look at our guide for the best recommended cornhole boards first. Starting with a sturdy, high quality set will make the painting process much easier.
Tools and Materials You’ll Need
Before you grab a paintbrush, let’s talk supplies. Nothing kills the fun of a DIY project like realizing halfway through that you forgot something. Here’s your shopping list:
- Sandpaper (120–220 grit works best)
- Clean cloth or tack cloth (for wiping away dust)
- Painter’s tape (for crisp edges and designs)
- Wood Primer (especially important for raw wood)
- Outdoor acrylic or latex paint (these hold up to weather)
- Rollers for big surfaces, brushes for details
- A clear protective sealer (polyurethane if you want durability, polycrylic if you want a crystal-clear finish)
- Drop cloth or old newspaper to protect your work area
Optional extras if you want to get fancy:
- Stencils for logos or lettering
- Spray paint for gradients or quick coverage
- A power sander if you hate sanding by hand
Step-by-step Guide for Painting Cornhole Boards
I have explained the whole process of painting cornhole boards in the five easy-to-follow steps listed below:
Step 1: Prep Your Boards
I know sanding and priming does not sound exciting, but trust me, this step is the most important one. If you skip it, your paint will peel, chip, and end up looking messy.
Here is what you should do:
- Place your boards on a drop cloth in a well ventilated space.
- Sand the surface until it feels smooth. Start with medium grit sandpaper (around 120) and then switch to a finer grit (around 220) for a clean finish.
- Wipe away every bit of dust with a tack cloth or a damp rag. Any leftover dust will ruin your paint job.
- If your boards are made of bare wood, brush on a coat of primer and let it dry completely. This gives the paint a solid base to stick to and makes it last longer.
Pro Tip
Step 2: Apply the Base Color
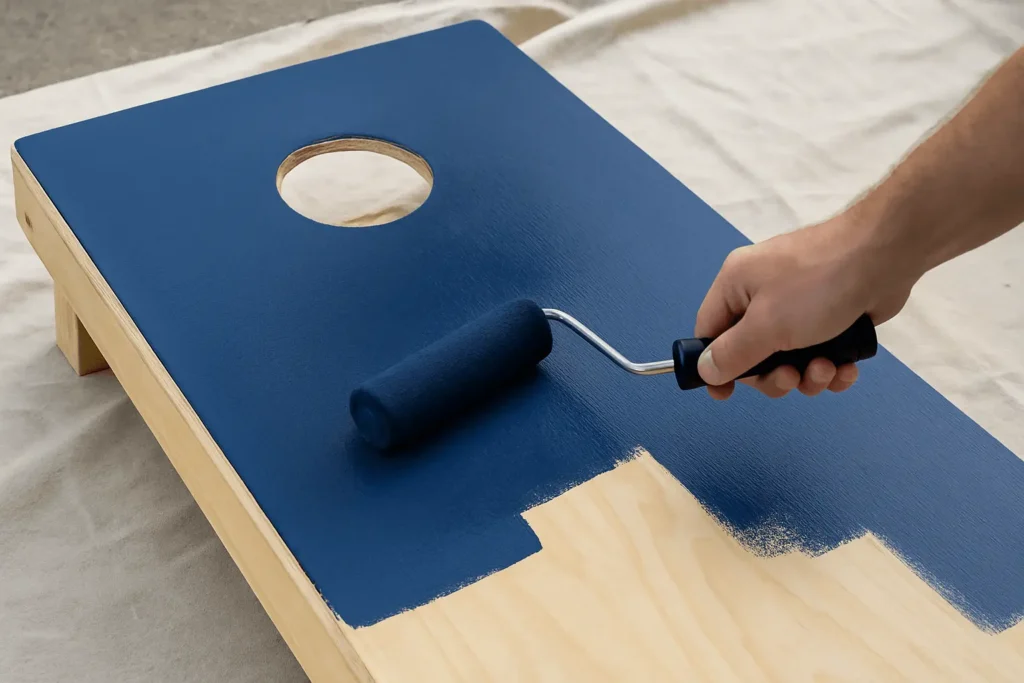
Now the fun part starts. The base coat is your background, and it is what you will build your design on.
Choose a color that matches your vision. White and black are always popular because they make designs stand out, but bold shades like red or navy can look amazing too.
- Use a roller for the large flat areas and a brush for the edges.
- Apply thin coats instead of heavy ones. Thin layers dry faster and are less likely to drip.
- Let the first coat dry completely, then add a second coat for solid coverage.
Pro Tip
Step 3: Add Your Custom Design
This is where you get to be creative. Cornhole boards are the perfect DIY canvas, so have fun with it and make them your own.
- Painter’s tape → Use painters tape to mark off stripes, borders, or shapes.
- Stencils or decals → Try stencils or decals if you want to add logos, initials, or a team mascot.
- Seal tape edges → Worried about paint bleeding under the tape? Here is a simple trick: paint along the tape edges with your base color first, let it dry, and then add your accent color on top.
- Accent colors → Use contrasting colors to make your design stand out.
- Peel the tape away carefully while the paint is still a little wet. This helps you get clean, sharp lines.
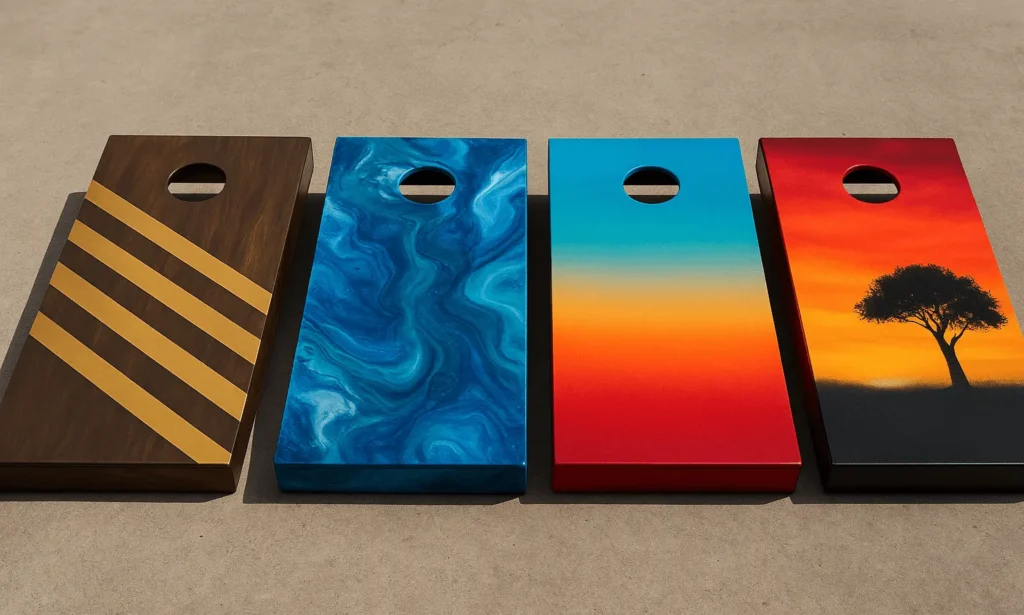
A few popular design ideas you can try
- Vertical or diagonal stripes
- Team logos like NFL, NBA, or your favorite college team
- A bold color ring around the hole
- Patriotic red, white, and blue themes
- Glow in the dark paint for nighttime play
- Gradient spray paint for smooth color fades
Step 4: Seal the Boards
This is the step that takes your boards from just painted to long lasting. Sealing protects your design and gives the surface that smooth, professional finish you want.
Here is how to do it:
- Once your design is completely dry, brush or roll on a thin coat of clear sealer.
- Let it dry fully, then lightly sand the surface until it feels smooth.
- Repeat this process for two to three coats in total.
- Allow the final coat to cure overnight before using your boards.
Pro Tip
Step 5: Cure and Play
Do not rush this part. Let your boards cure for at least 24 hours before you play. Once they are fully dry, grab a cornhole bag and give it a test toss. The bag should glide smoothly across the surface without sticking.
Congratulations, you just finished your own custom painted cornhole boards!
Common Mistakes to Avoid
Advanced Painting Tricks (If You Want to Go Pro)
If you love going the extra mile, these ideas will take your boards to the next level:
- Airbrushing → Great for smooth shading and detailed artwork.
- Vinyl overlays → Apply a printed design and then seal over it for a professional look.
- Two tone finishes → Divide the board into contrasting sections for a bold effect.
- Metallic paints → Add shine and a modern glossy style.
- Epoxy resin coating → Creates a glass like surface that looks amazing, although it does take more effort and patience.
Keeping Your Painted Boards Looking New
A little care will make your boards last much longer. Here are a few easy habits to follow:
- Store your boards indoors when you are not using them.
- Wipe them down with a damp cloth after each game to remove dust and dirt.
- Keep them out of the rain and direct sunlight to prevent damage.
- If you play often, add a fresh coat of sealer once a year to keep the surface smooth and protected.
FAQs About Painting Cornhole Boards
Final Thoughts
Painting cornhole boards is one of those projects that is both fun and practical. You get to be creative, protect your boards, and improve gameplay all at the same time.
You can keep things simple with a clean classic look, or go all out with a bold custom design. As long as you follow the steps in this guide, you will end up with boards that look like they came straight from a professional shop.